This is an easy DIY project that will save you some money, money that can be used for more relevant gear at that. I recently got the 65mm Vortex Viper and immediately started brainstorming on how to mount my camera to it for digiscoping. This is a quick tutorial on what I came up with using the tools and materials I already had in the garage.
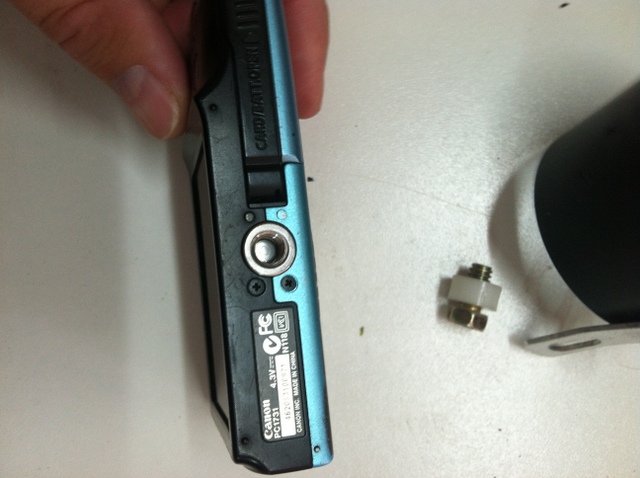
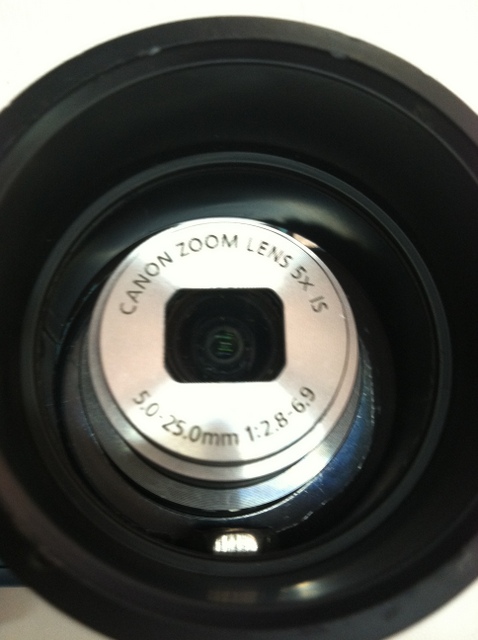
My camera is a lower end Cannon powershot A2400 IS that I got from Costco for about $120. It has a female ¼-20 thread on the bottom of it for mounting it to a tripod. I’m not sure if all cameras have this or not, but that feature is one of the things that makes this project work.
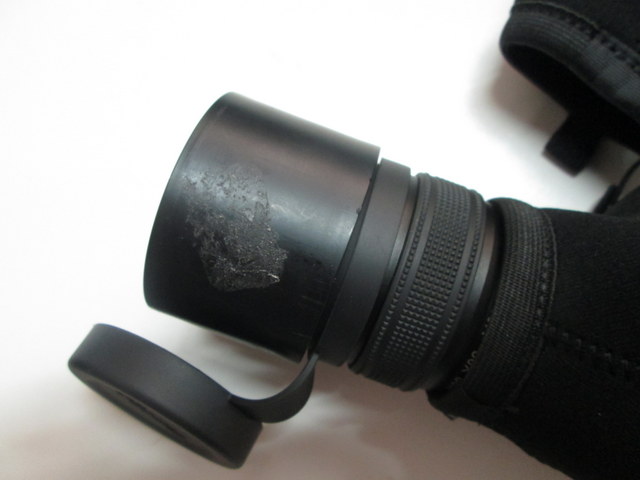
The 65mm Vortex Viper has an eyepiece that has an approximate diameter such that a 1 ½” ABS pipe coupling fits snuggly over it. This is another feature that makes this project work.
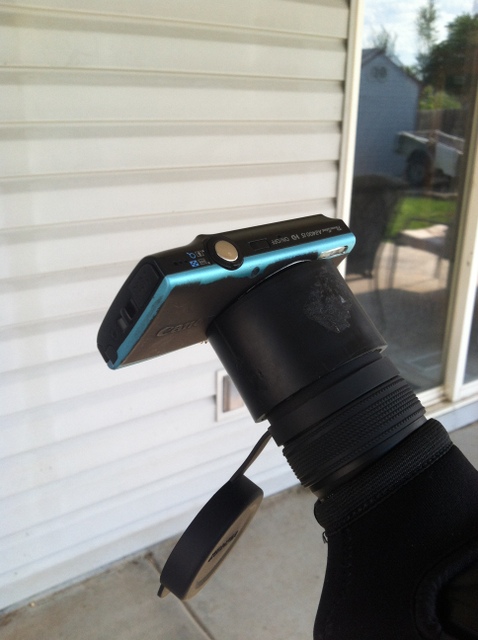
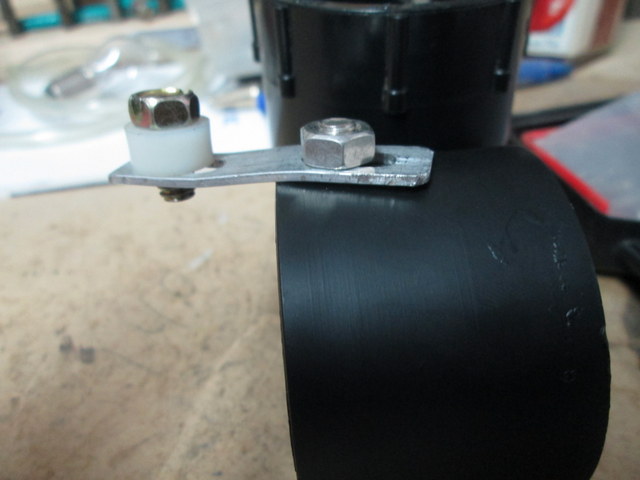
If you have the same or similar equipment that meets the above criteria then you may be in luck. Here is a picture of the finished product, you can most likely build it just by looking at the picture. There is some flexibility on what hardware and materials you can use, it just depends on the resources available to you.
Here’s a quick outline on how to make this with basic tools and materials you might already have. Keep in mind these dimensions are specific to my camera, yours may need to be different.
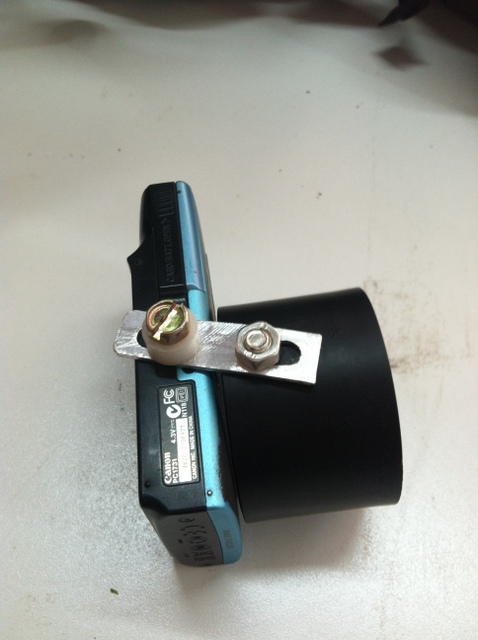
Drill a ¼” hole in the coupling about 3/8” from the edge and clean it up with a file.

You need a piece of steel strap, aluminum bar stock, or similar cut to about 1 ¾”. long and at least ½” wide. I first used steel strap that I already had, then decided to go buy a piece of 1/16” aluminum bar stock from Lowes for $4. Now I have about 3’ of leftover aluminum for other projects. Existing steel strap on top, home fabricated aluminum on bottom.
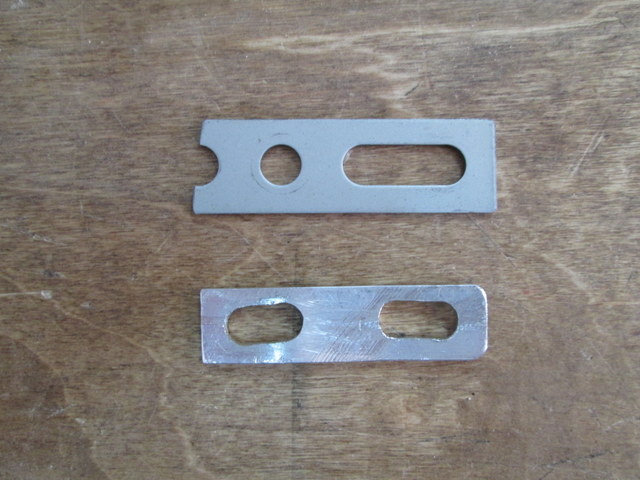
If you opt to fab your own, drill two ¼” holes next to one and other on each end of the strap. File them out to make a slot, this gives you some adjustment on the final product if need be.
Now assemble and adjust using ½” length or smaller ¼-20 bolts and nuts. You will need to use nylon spacers and/or bend the bar to get your adjustment right. ***Make sure the camera lens, throughout all zoom levels, doesn’t hit the bolt head in the coupling***
The finished product on the scope.